Adding Designs to Cricut Design Space

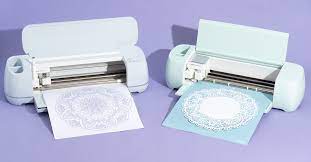
A feature of Cricut Design Space is the ability to upload unlimited SVG files for free and it is easy to do. The reason an SVG is easy to cut in Cricut Design Studio and other machines is that it is mathematically designed with points and lines unlike JPG or PNG files that are created using pixels.

There are lots of places you can download SVG files. and when I find good ones, I will post them here. I hope to also create new SVGs for you. Most cutting files come with several different versions of the file. To cut an SVG file I Cricut Design Space, you first have to unzip the downloaded file.

Start by opening a new, blank canvas in Cricut Design Space. Upload the SVG file by clicking the upload button on the left side design panel and click save. The image will then show in your “recently uploaded images. Select the image and click on “insert images” and your chosen SVG will import onto your canvas.

If your design file is large, you may need to reduce the size of the image. If you change the X & Y positions to 1 it will make it easier to see. You can then hit the “Make it” and cut the image out on your machine.

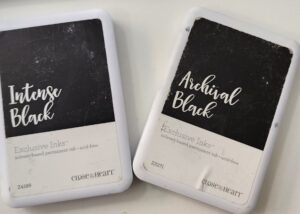
 

Intense Black or Archival Black ?

You would think Intense and Archival black ink were the same thing when you look at the packages. they both say permanant, solvent based ink and acid free. Both are waterproof, but the main difference is the Intense Black is fast drying which essentially means you can start coloring just after you stamp it. If you were to use the Archival Black, you would want to wait until it dries.

Close to my Heart states their recommendations as:

Intense Black: Recommended for use with watercolors or alcohol markers.

Archival Black: Recommended for scrapbook pages and stamping on vellum.

The Black Close to my Heart Ink is waterbased, and only recommended when you are NOT using anything with it.


If you have any questions, please leave them below in the comment section.

Creatively,

Carol


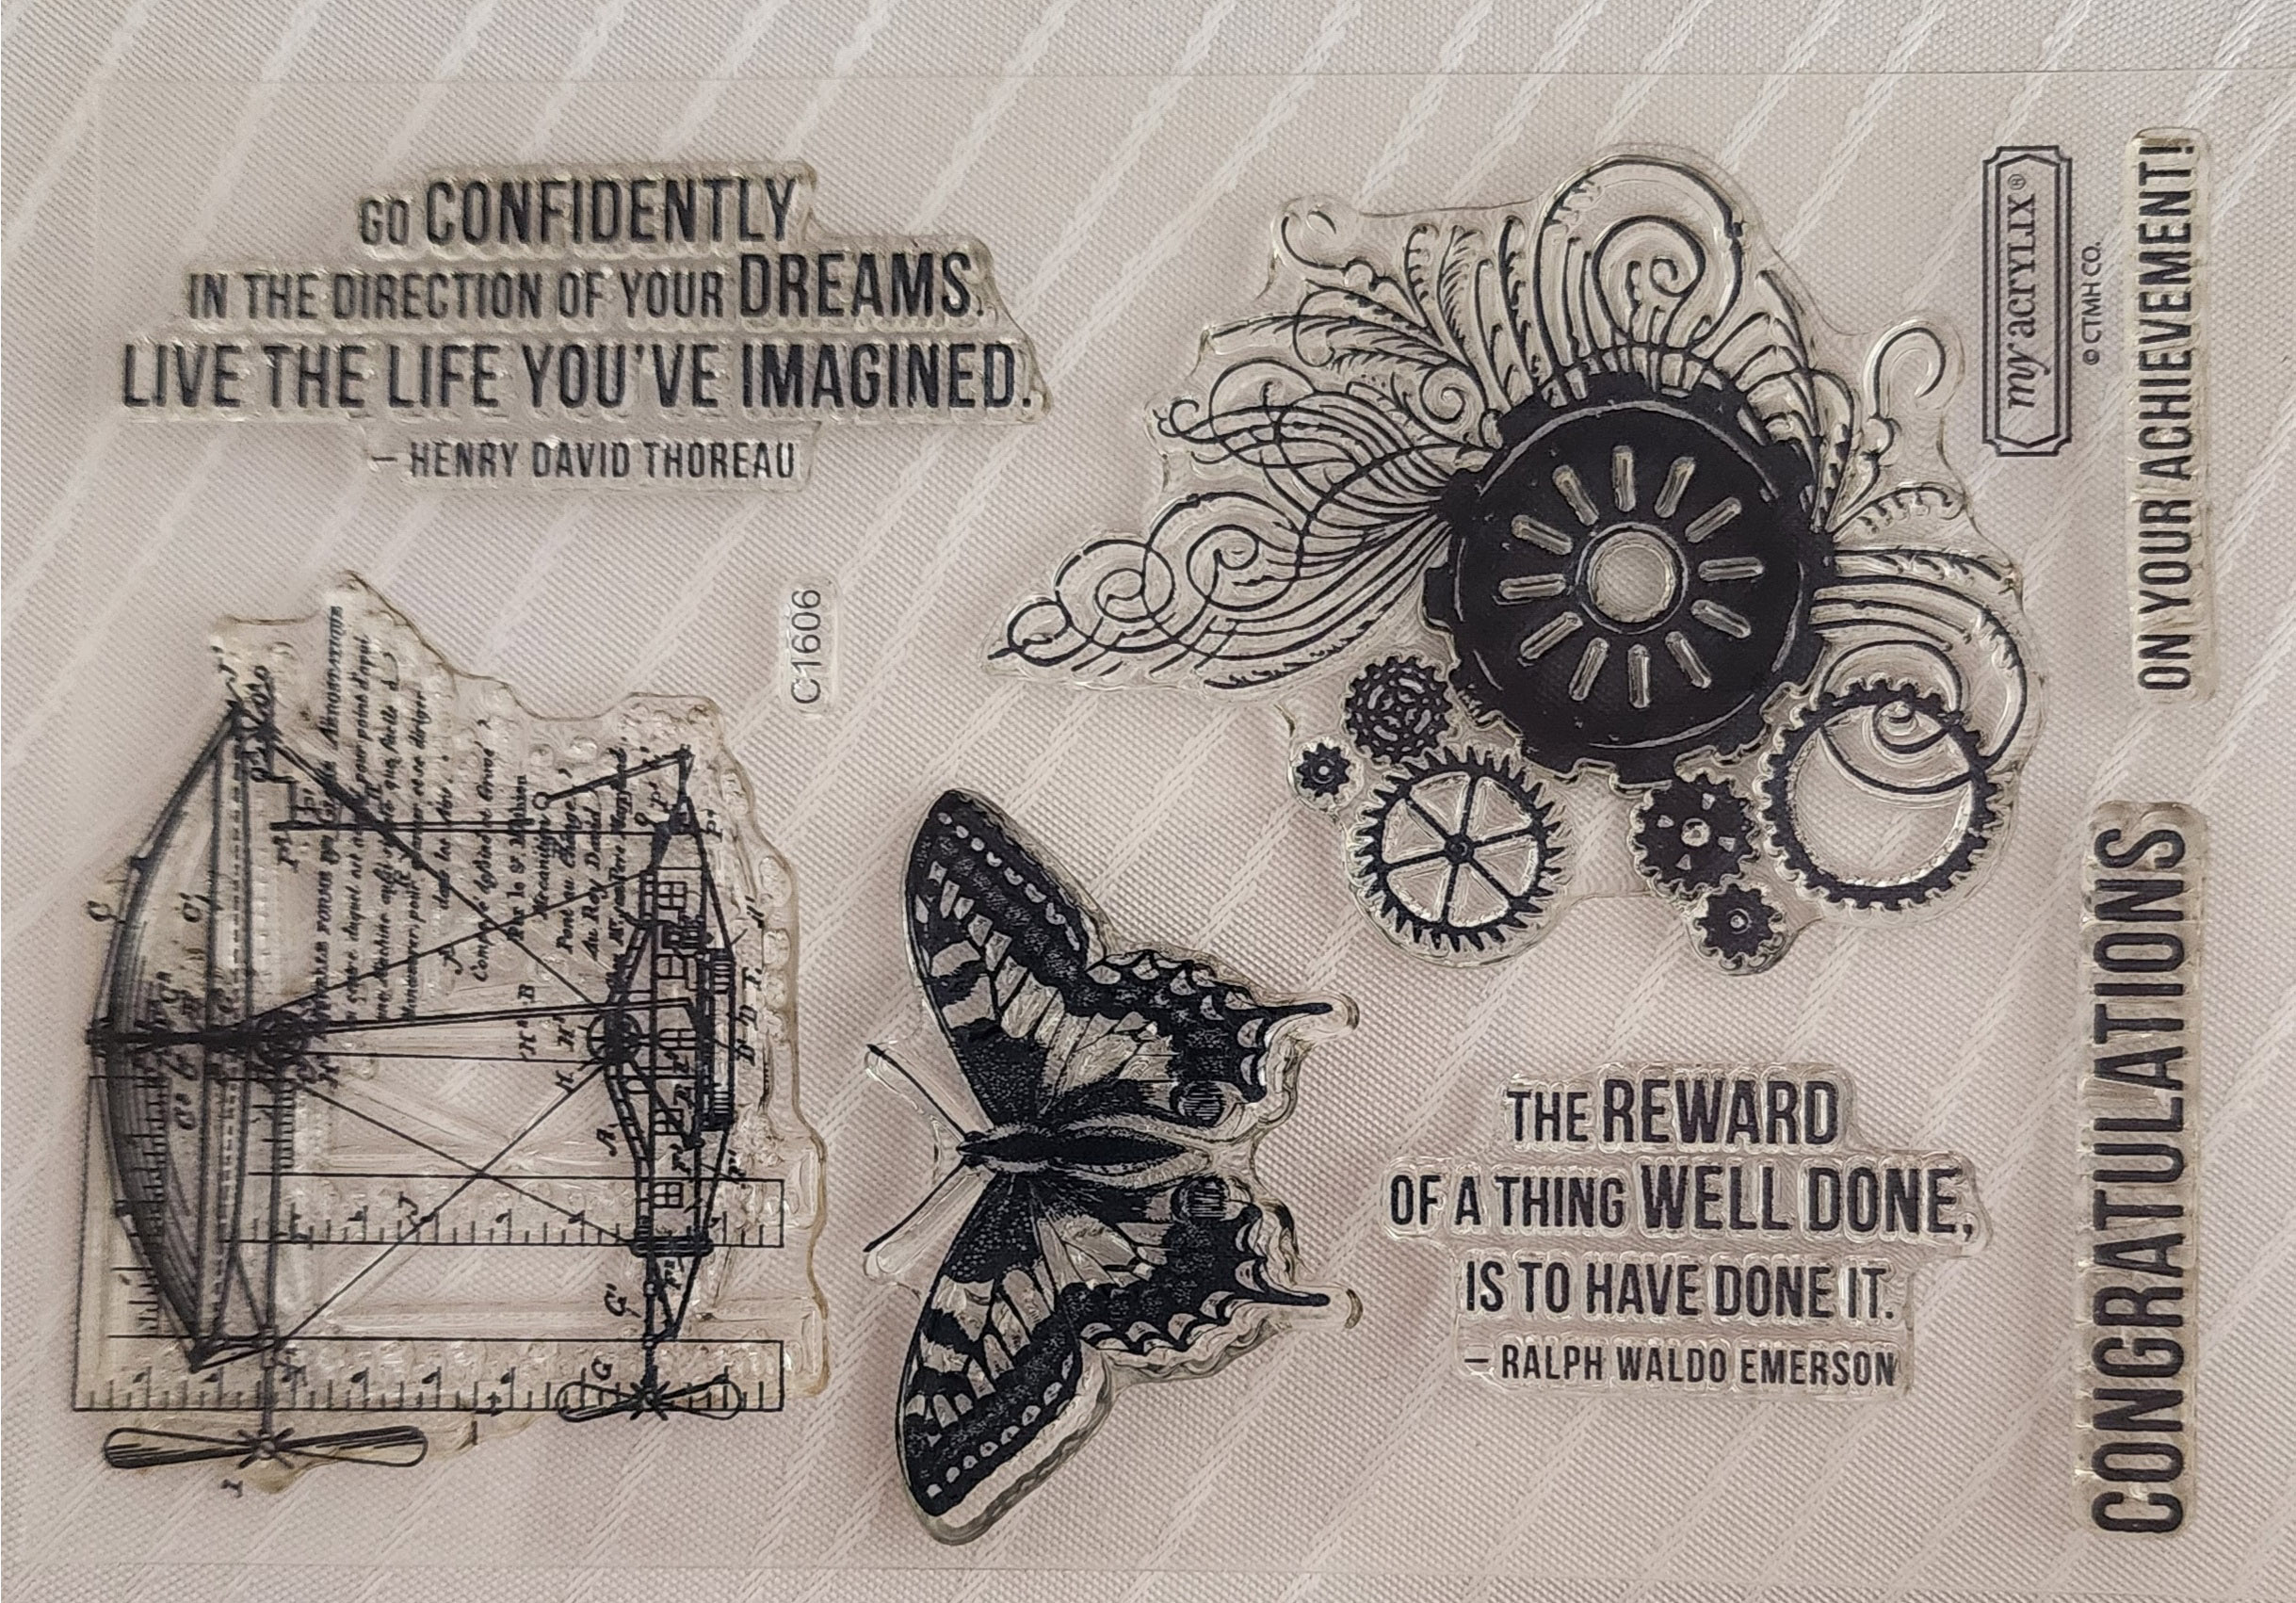
How to Care for your Acrylic Stamps

I get this question alot, especially from new stampers so I wanted to share with you what Close to my Heart’s answer to this question is…

  • Although our stamps are very durable, care must be taken when removing them from the carrier sheet, especially for the first time. To avoid tearing your stamps, gently loosen the edges of each stamp before peeling them off the carrier sheet or your block.
  • Before using your stamps, condition them so ink will transfer evenly. To do so, rub the stamp a stamp pad, and then stamp onto scra paper, twisting while you stamp. Repeat until the inktransfers evenly across the entire surface of the stamp.
  • Each stamp comes with a foam insert. This insert not only helps to protect your stamps but can also be used as a tool while stamping. By placing it under the paper you are stamping on, you will achieve a cleaner, crisper image.
  • Clean your stamps immediately after use and let them air dry. Store stamps on the carrier sheets that come with the envelope (rather than on the block) and keep them out of direct sunlight. Discoloration from inks is normal and does not affect stamp performance. I use the Stamp Shammy for most inks, but for Intense Black or Archival Black, I use the staz-on stamp cleaner.
  • Close to my Heart guarentees its stamps and products to be free from manufacturing defects for a period of 90 days from the date of purchase, and will repair or replace any defective products within that period free of charge. Please inspect your stamps and products immediately upon receipt.

If you have any questions regarding your stamps, or taking care of them, please e-mail me  or leave a comment below.

Creatively, Carol


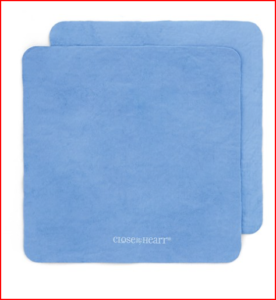
A Shammy Just for Stamps!

The New Stamp Shammy!

We have seen the Close to my Heart Spritz Cleaner and the scrubbers go away, but in it’s place is the new Shammy for your stamps.  Let’s face it, a lot of you were using baby wipes anyway, and while they are disposable, this is a much better solution.  Just a little water to clean your stamps, then a dab of soap to clean the shammy and you are good to go.

One thing to remember is if you leave it in a scrunched-up little ball after washing it, it will, in fact, dry in a scrunched-up little ball!  There is a case your can get for drying your shammy, but I thought it was a bit too pricy for me. I have since found it dried in a ball, so I might have to reconsider this purchase.

The only think I am not crazy about is that it dries so quickly. When we had the spritz, I could just spray it on, it was always in a bottle, so always wet. Since it does need to be washed with soap and water, it is one extra step during the day while I am stamping since I didn’t put a sink in my office.

I hope this has helped you with how to clean your stamps. If you have any questions, leave them below and I will get them answered for you.

Creatively, Carol