Scrapbooking Baby Pictures

Scrapbooking baby pictures is fun. Today I am going to show you a layout done completely on the computer.  Digital scrapbooking use to be very popular, but I was always a hands on type of scrapbooker. To me it is therapy… cutting the paper, stamping the images. If I am following directions to complete the scrapbook page, then I am not thinking about whatever might be weighing my mind down. If you have lots of children and you want to scrap pictures of grandma

Scrapbooking baby pictures on the computer

that everyone will want in their album, then you can create the layout on the computer and print a copy for each of them.

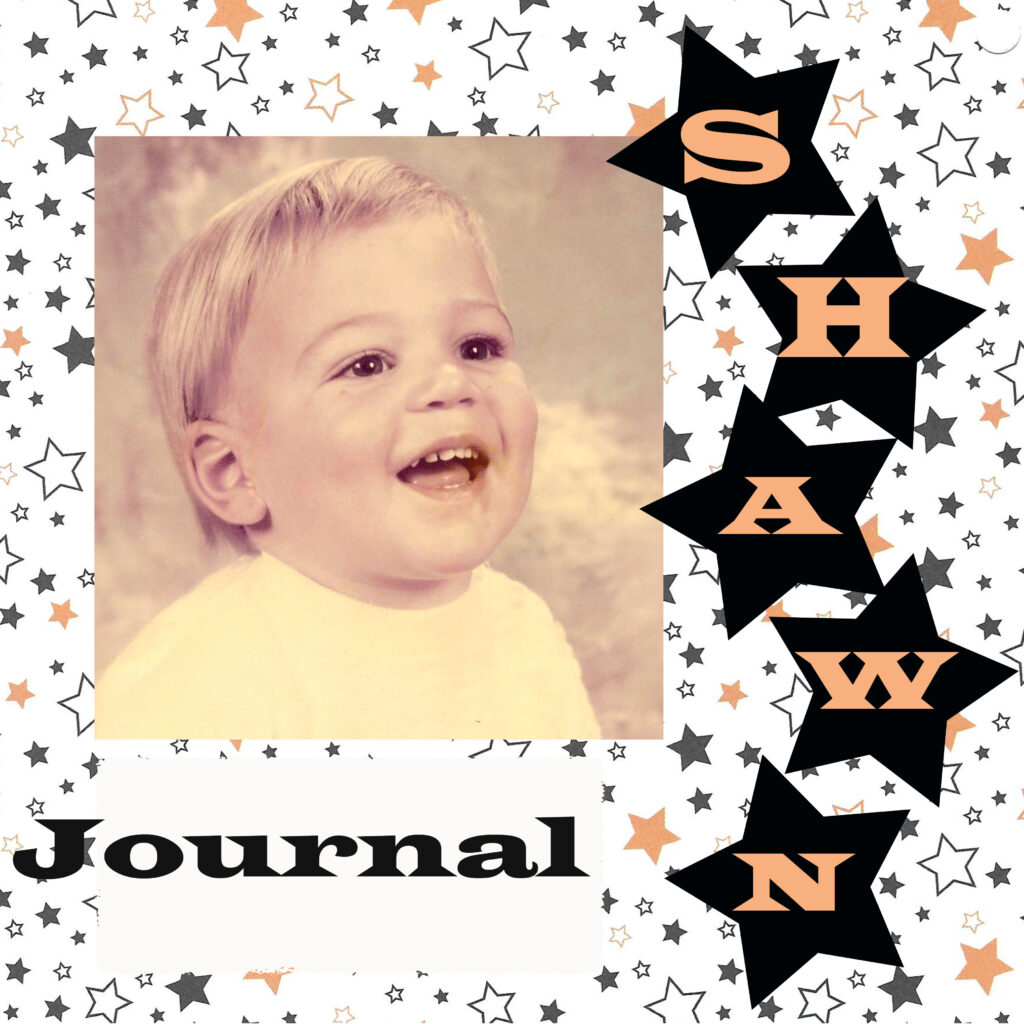
Here I scanned a piece of scrapbook paper from the Scaredy Cat paper pack from a few years ago. In keepig with the stars motif, I used black stars to highlight Shawn’s name, and used a font color included in the paper. My computer program grabbed the color, but it almost looks peachy instead of golden when put on the black.  I will be creating this layout on paper to go in my cousin’s album. This way I know the colors will match. But I wanted to show you what is possible. This is a great way to scrapbook if you need lots of copies of your pages, or you just don’t have time to do it in paper.

Send me your take on this scrapbooking baby layout at Contest@CreativelyCarol.com and be entered to win a free stamp set!  If you have any questions, please feel free to reach out, I would love to help.

Creativey, Carol

Where You Store Your Scrapbooks Matters!

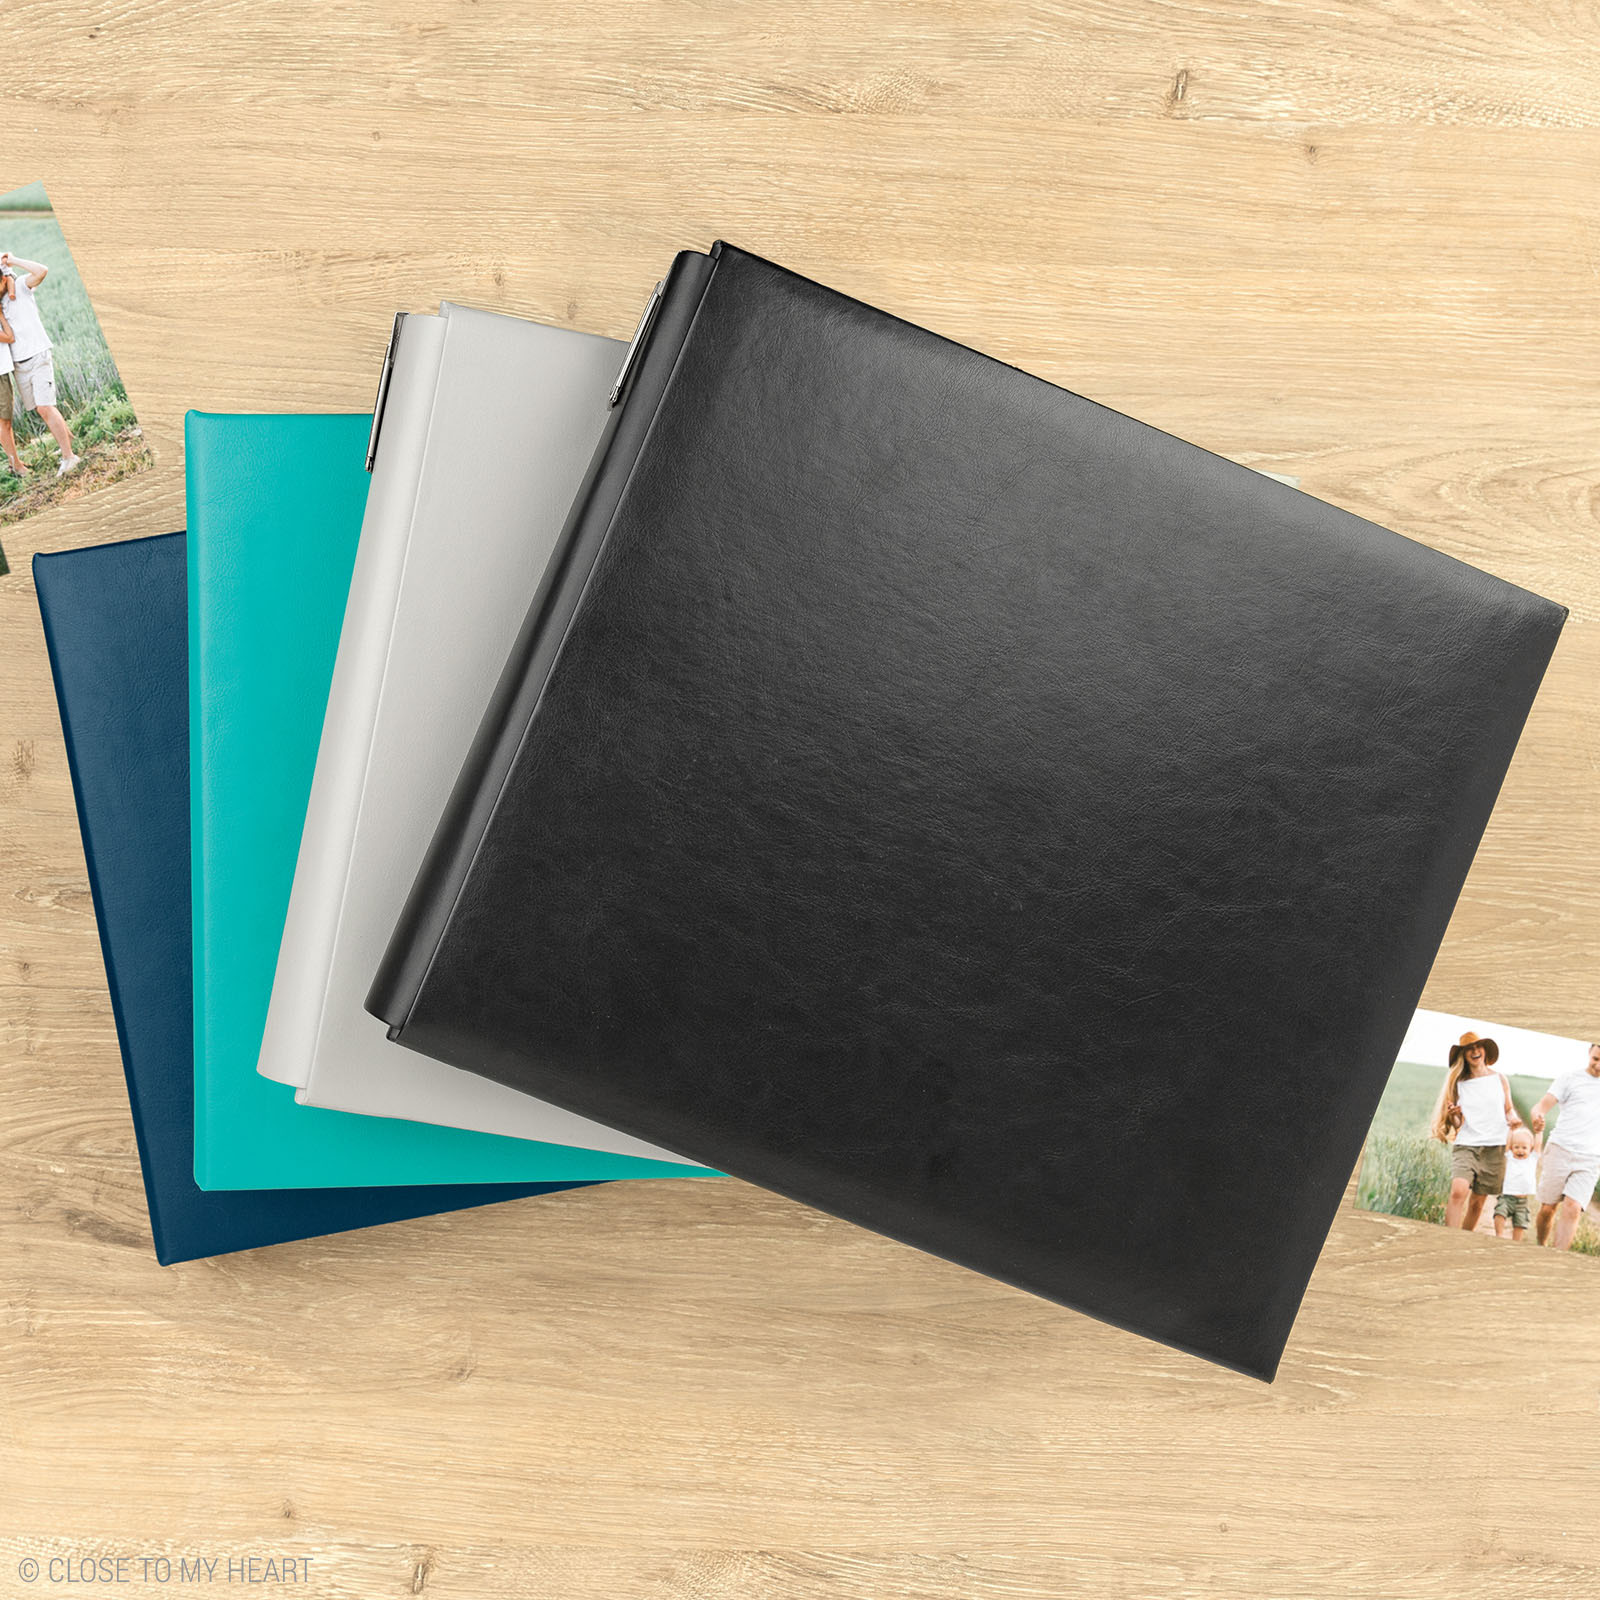
Keeping your Scrapbook Albums Safe

Are Your Scrapbooks Safe?

Are your grandmother’s old photos in the attic in a box? Time to get them out of there! Safe Scrapbooking doesn’t just start with quality, acid-free supplies, but it ends with where and how you store completed albums. Improper conditions can cause more damage than acidic elements.  To maximize the longevity of both your scrapbooks and the priceless memories they contain, follow these basic storage guidelines.

Choose a cool, dry storage place, which means keep them out of the attic! Heat and humidity are the two most dangerous elements in any storage environment. High heat makes photos fade faster, twice as fast for every 10 percent increase in temperature. High humidity can cause photos to become sticky, develop stains or grow fungus. Additionally, wide fluctuations in temperature and humidity can cause photos to crack, wrinkle or delaminate. Now you know it is time to get grandma’s pictures out of the attic or the garage and into a scrapbook. Excess heat and humidity can also cause scrapbook papers, inks and other materials to deteriorate.

Overexposure

To avoid exposing your albums to temperature extremes, store your scrapbooks in the coolest location in your home. The relative humidity should stay between 20% and 50 % and the temperature should not get above 77 degrees. This means you want to avoid hot attics and damp basements. A shelf or closet on the main floor is often the best location. And if you think about it, they are more likely to get looked at long after you created them if they have a special place in your home. Given the investment in photos and supplies, it may be worth it to purchase an accurate thermometer and hygrometer to track temperature and humidity in your storage area depending on where you live. If you find that the relative humidity often exceeds 65 %, think about a dehumidifier. Air conditioning during hot summer months also helps avoid extreme heat and humidity.

Storage Direction

Store your scrapbooks vertically with the spine facing out and the sides supported with slight, gentle pressure. In other words, keep the shelf tight, so each album holds up the other ones. Don’t leave scrapbook albums open and on display,  light exposure can cause photos, papers and inks to fade and yellow and dry out the adhesive.

prevent pressure problems Elements such as eyelets, brads, wire, sequins, beads and buttons must be used with care to avoid physical damage during storage. These embellishments can cause indentations or abrasions on scrap­ book pages, especially if albums are stored with excessive pressure on their sides.

If you are like me, you have used lots of dimensional elements, brads, ribbons, buttons, you get the idea, on your pages, you can use spine extenders between the pages to prevent pressure damage, think of the impression or even a hole a brad can make on your next page if it is packed too tightly.It is generally a good idea to plan your albums around 3-D ele­ments when possible. Simply do not place photos directly across from 3-D embellishments on a facing page so there is less chance for damage.

Think of things this way, you spend good money on your scrapbooking hobby, and how crushed you would be if they got damaged. While I am not an advocate of keeping all your photos only on your camera or a backup disc, I am also not one to just put all that hard work in the album and hope for the best. I photograph every scrapbook page that I create, just in case there was a flood or fire, and those are backed up to a cloud.  One less thing to worry about when keeping your scrapbooks and photographs safe.

Creatively, Carol


Tying Together the Layers

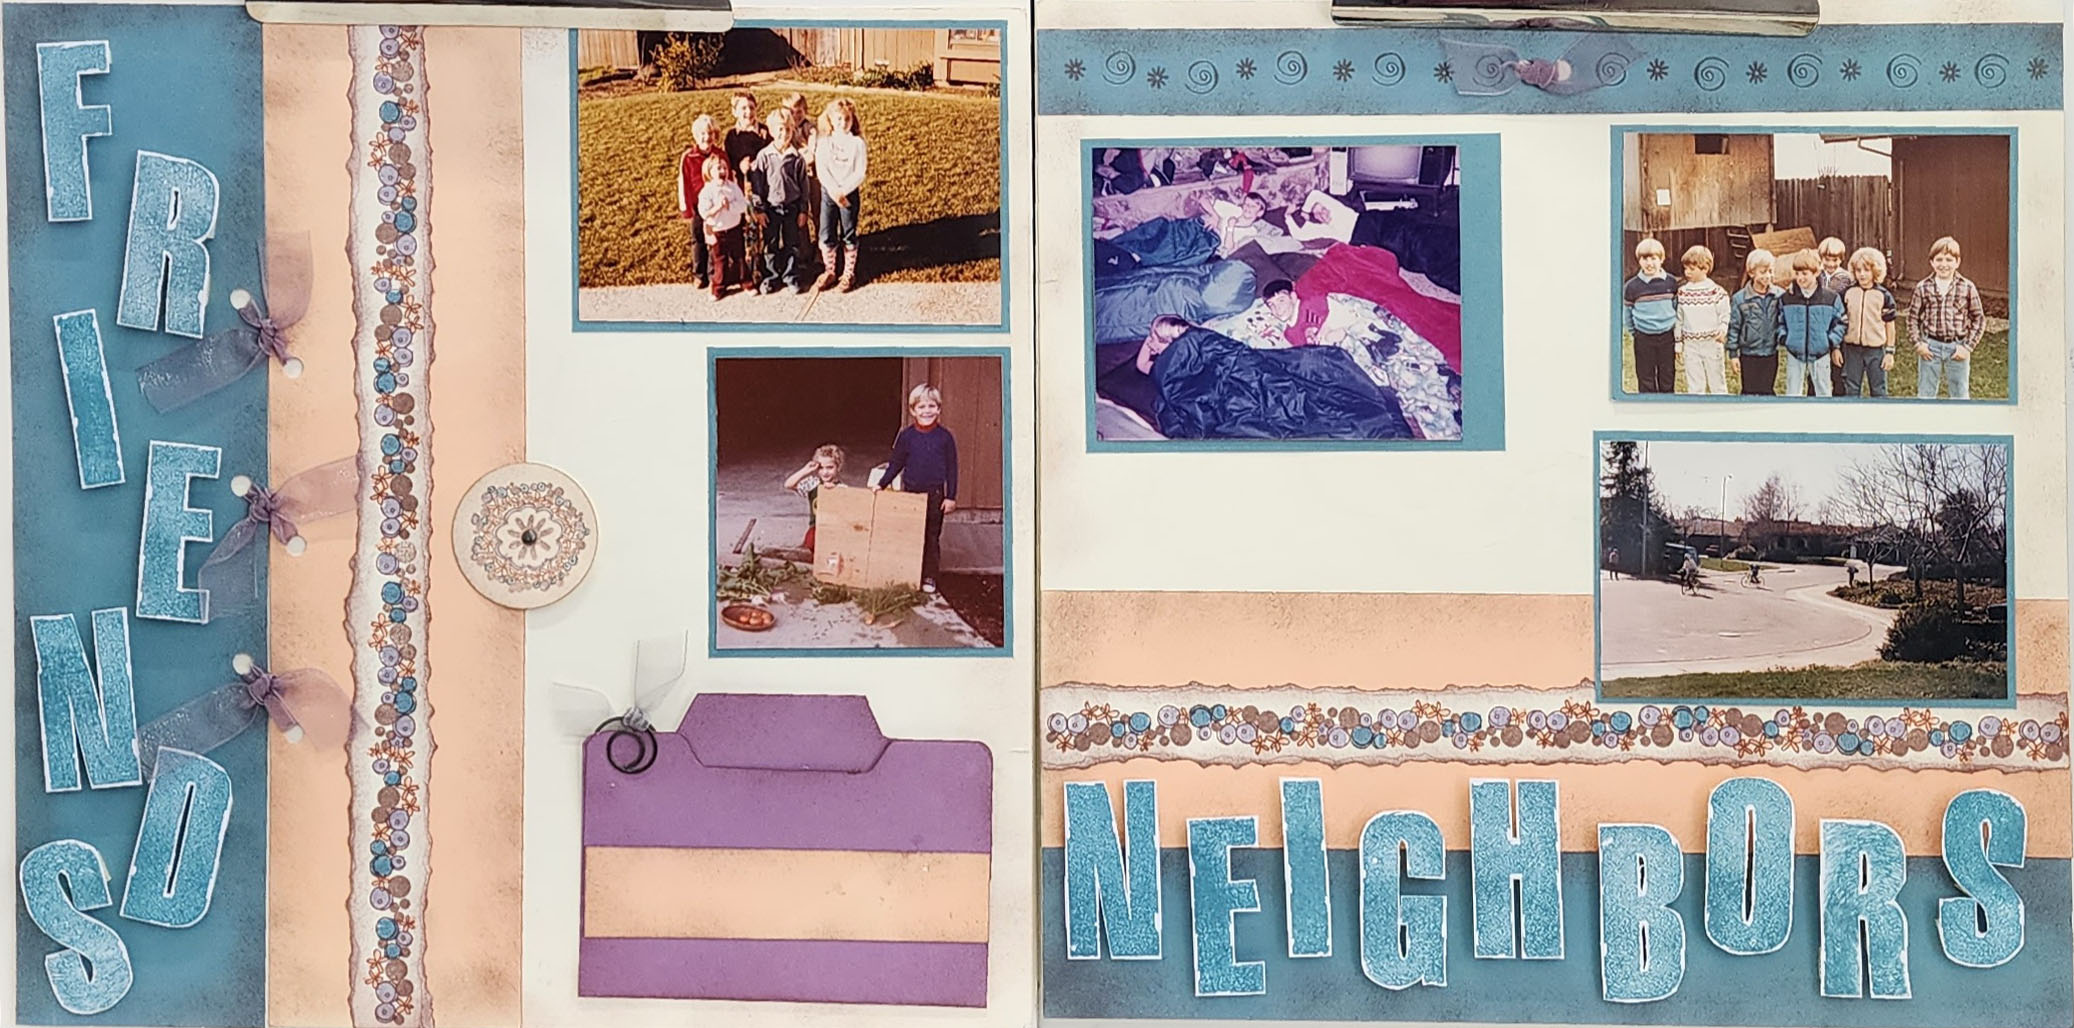
Here is a great way to tie colors and layers together. I want to share with you another layout I completed for my Aunt to give me cousin. Here are several pictures of the friends in the neighborhood where he grew up.  Using a block E size stamp set, I was able to stamp the title “Friends & Neighbors” and stagger friends  down the left side. IThey would not fit straight down, but I think the staggered look is fun, and since this age group is fun, it worfks.

I have a mini-file folder for hidden journaling where  Shawn can add what he remembers about his friends and neighbors.  I used a border stamp to make the complete line of decoration down the center of the left page and across the right one. A creative way to tie two different colors of cardstock together as you will notice on the left side is to punch some connecting holes and thread ribbon to appear to hold the sides together. using knots instead of bows makes it a bit more masculine. The same element idea appears on the top center of the companion page. Stamping across the top strip gives it interest, but does not compete with the colorful stamped border across the center.  I will include a stamped, lined piece of cardstock incase he wants to list his friends names under the sleepover page.


What do you think of this layout? Leave a comment below and give me your thoughts,

Creatively, Carol


A Shammy Just for Stamps!

The New Stamp Shammy!

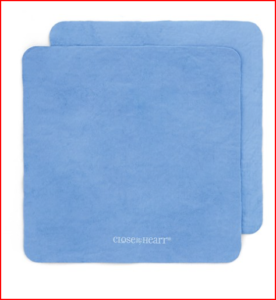
We have seen the Close to my Heart Spritz Cleaner and the scrubbers go away, but in it’s place is the new Shammy for your stamps.  Let’s face it, a lot of you were using baby wipes anyway, and while they are disposable, this is a much better solution.  Just a little water to clean your stamps, then a dab of soap to clean the shammy and you are good to go.

One thing to remember is if you leave it in a scrunched-up little ball after washing it, it will, in fact, dry in a scrunched-up little ball!  There is a case your can get for drying your shammy, but I thought it was a bit too pricy for me. I have since found it dried in a ball, so I might have to reconsider this purchase.

The only think I am not crazy about is that it dries so quickly. When we had the spritz, I could just spray it on, it was always in a bottle, so always wet. Since it does need to be washed with soap and water, it is one extra step during the day while I am stamping since I didn’t put a sink in my office.

I hope this has helped you with how to clean your stamps. If you have any questions, leave them below and I will get them answered for you.

Creatively, Carol

Motivation for Monday with Direct-to-Paper Inking

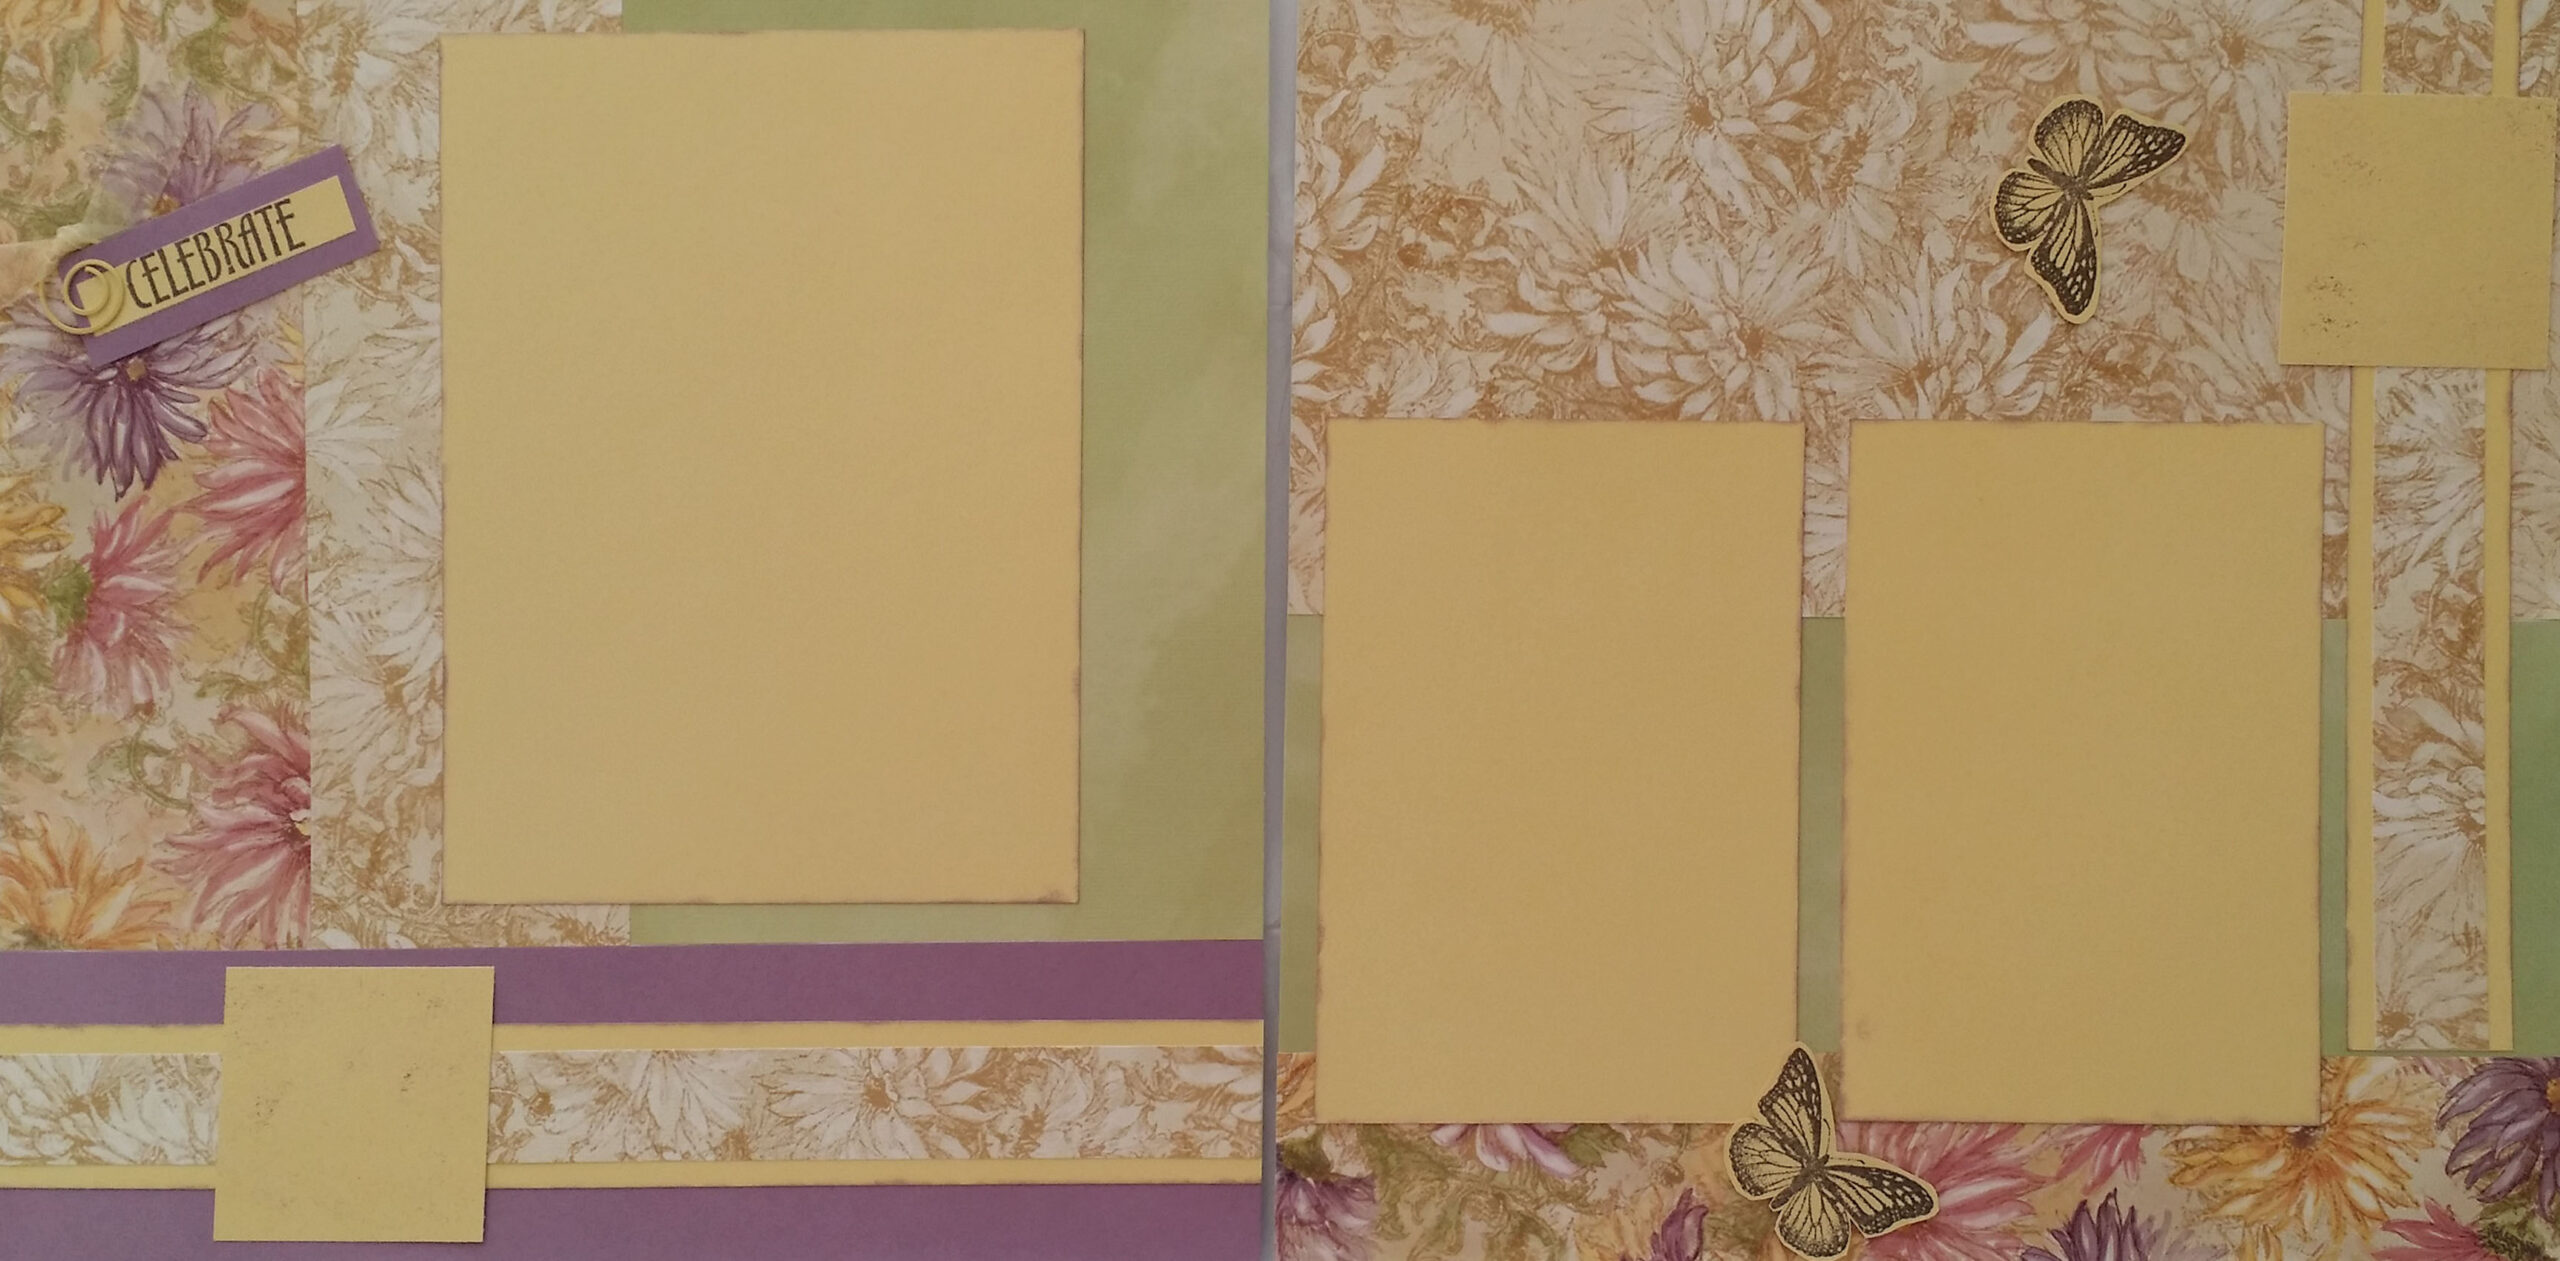
Good Morning!  Scrapbook page for 1 5x7 and 2 4x6 photosToday I have a scrapbook page for you to use as a sketch and the technique of direct-to-paper inking.  It features space for a 5 x 7 photo as well as 2 4 x 6 photos. You can choose whether you want to have a small 2 x 2 photo on the left and right side or an embellishment.  There is room to put smaller photos above the 4 x 6 mats if you need more space and even a 4×4 to the left of the 5 x 7 if you need it.  If you need any help in doing this layout, please reach out to me either by e-mail or text at 801-800-0884.

If you look closely at the layout, you can see I used the ink direct-to-paper technique to edge the photo mats. I will do a short video on how to do this.


When you have completed your interpretation of this sketch, please text me a picture of your finished layout so I can post it here, as well as enter you into the monthly drawing for a free stamp set.  If you use the technique shown in the photo, you get an extra entry into the drawing. Just a little incentive to get you to go outside your comfort zone.

Creatively, Carol

Scrapping Old School Photos

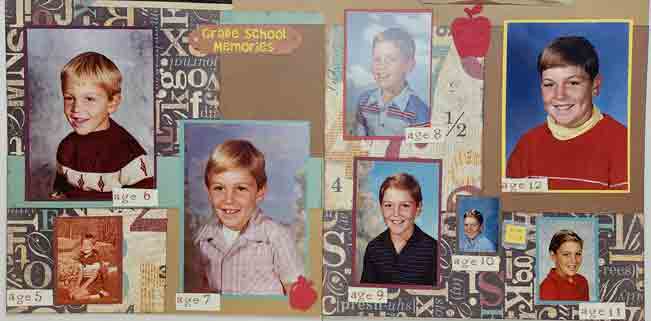
I have been asked by someone dear to me to create a scrapbook for her son, who I also adore, so I said yes. In the box was an assortment of school photos. While I could have done a page for each year, I thought that would be just too much when I didn’t know the details of his likes and dislikes while he was in school so I opted for putting all of them on a 2-page layout.

I simply labelled the corner with the age, using all the same font and ink to keep it cohesive. Since this is all elementary school and Jr high, it leaves the ability to structure the high school years in another way.

We’ve Got Snow…Again

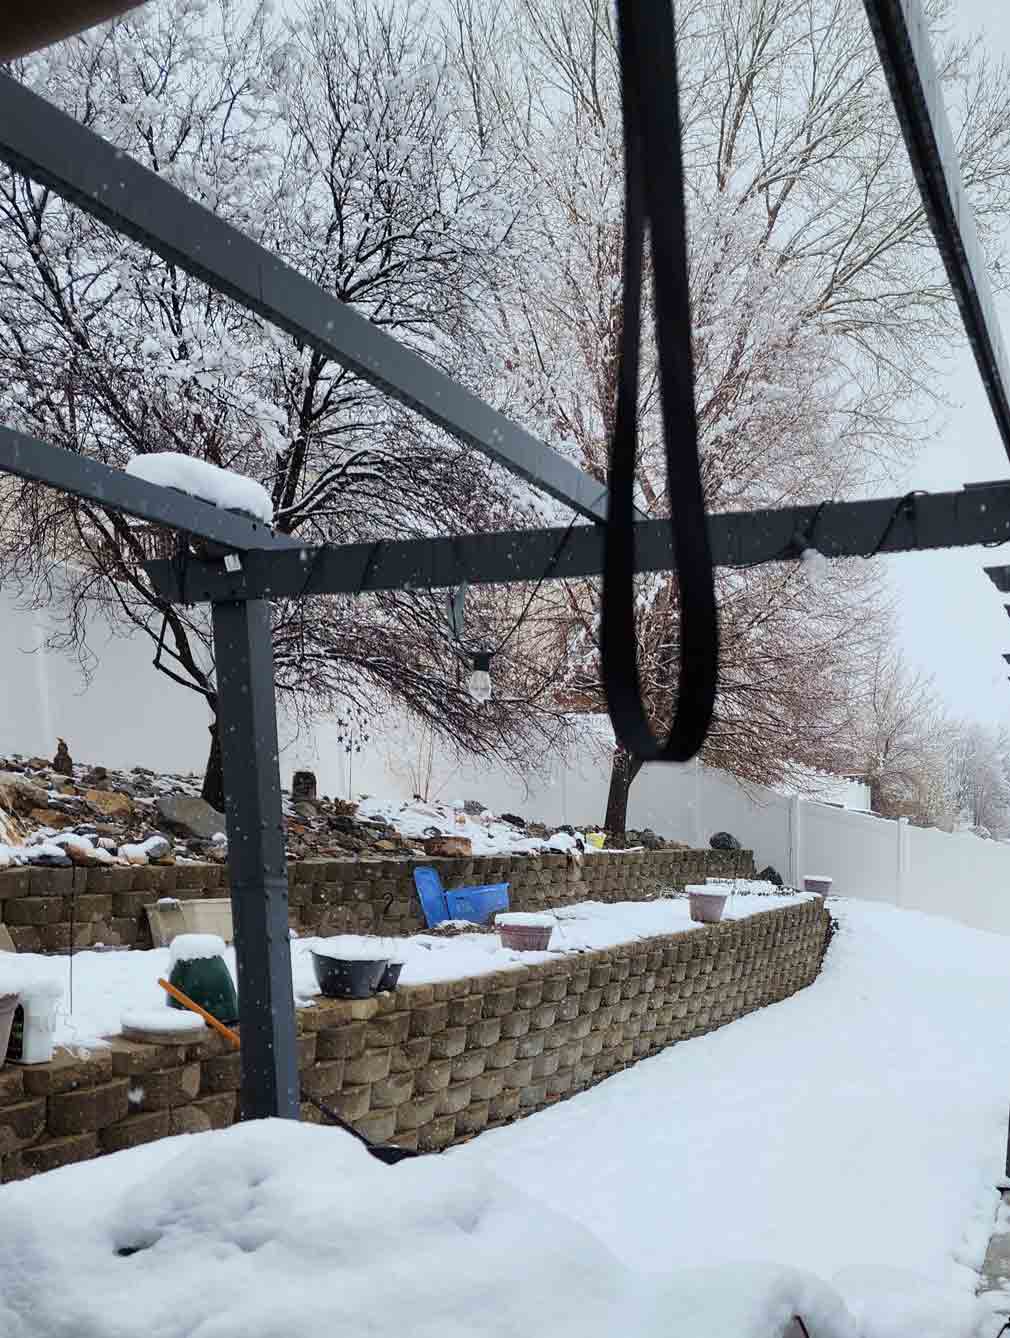
Snow in Utah 4-3-2023Happy Monday!  I can’t believe that yesterday we had 60-degree weather and no snow was in sight. Today it looks like we have gotten 3″ so far and it is supposed to go on all week!  I am glad that scrapbooking is an indoor activity. Today’s sketch is based on a layout I did of my grandkids many years ago in the snow. I have decided that in order to provide you with sketches each week, and the weekly projects you receive in your e-mail each week (you are on the list, right??) I would have to sketch from some of my finished layouts and leave off the measurements. You can still totally scrap-lift the layout, but this way I can work on tomorrow’s newsletter project.
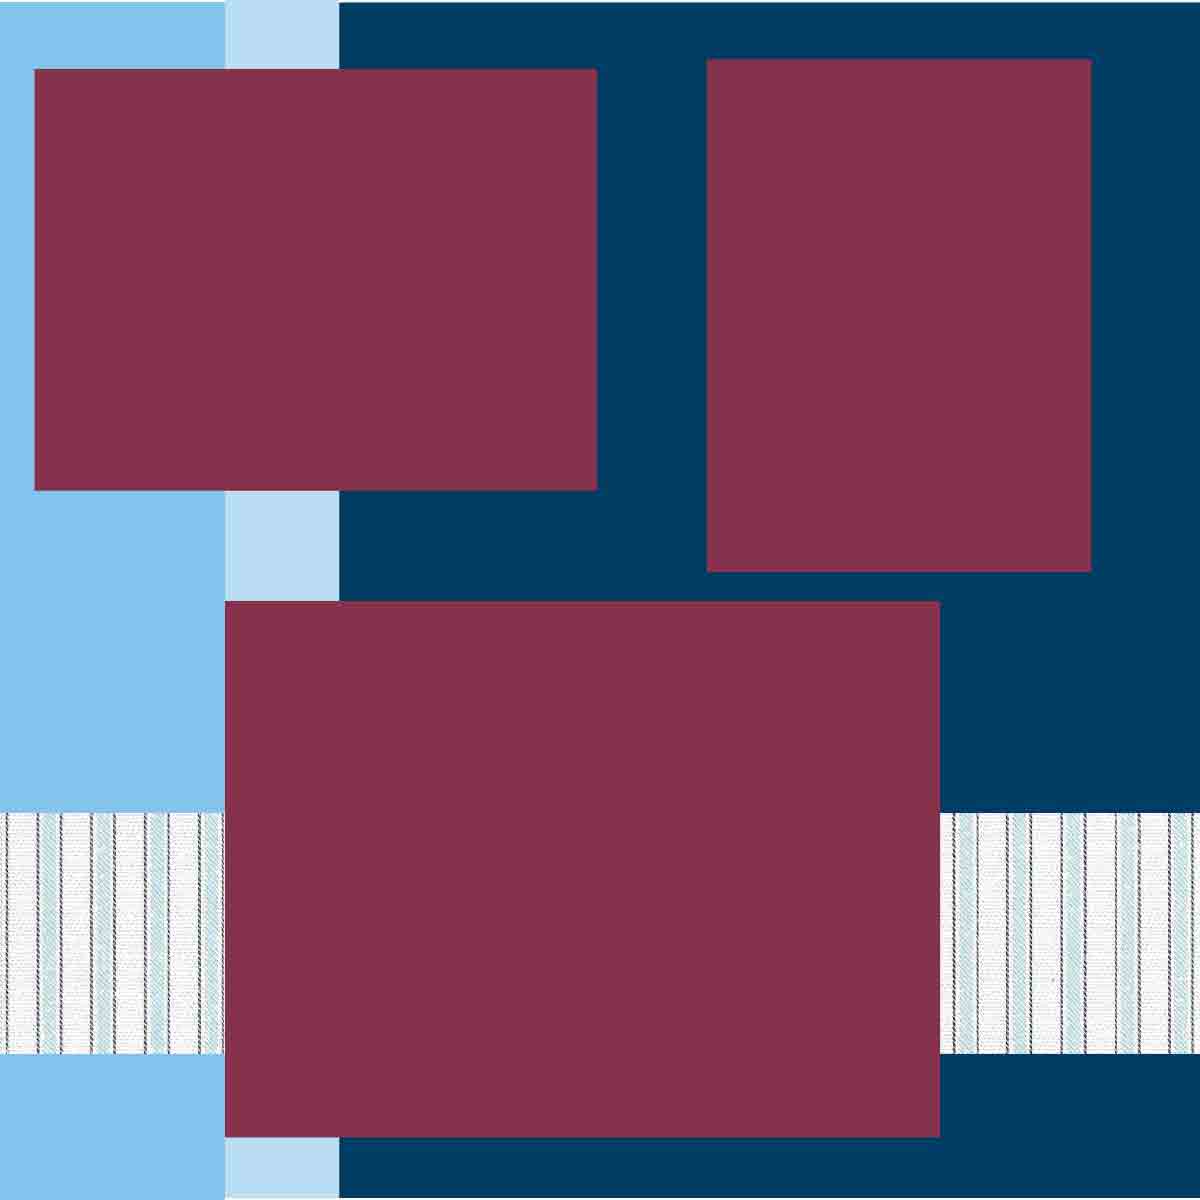
scrapbook sketch for 3 standard photosHere is the sketch:  you  have some basic  strips to make up the background, then layer the photos as desired.
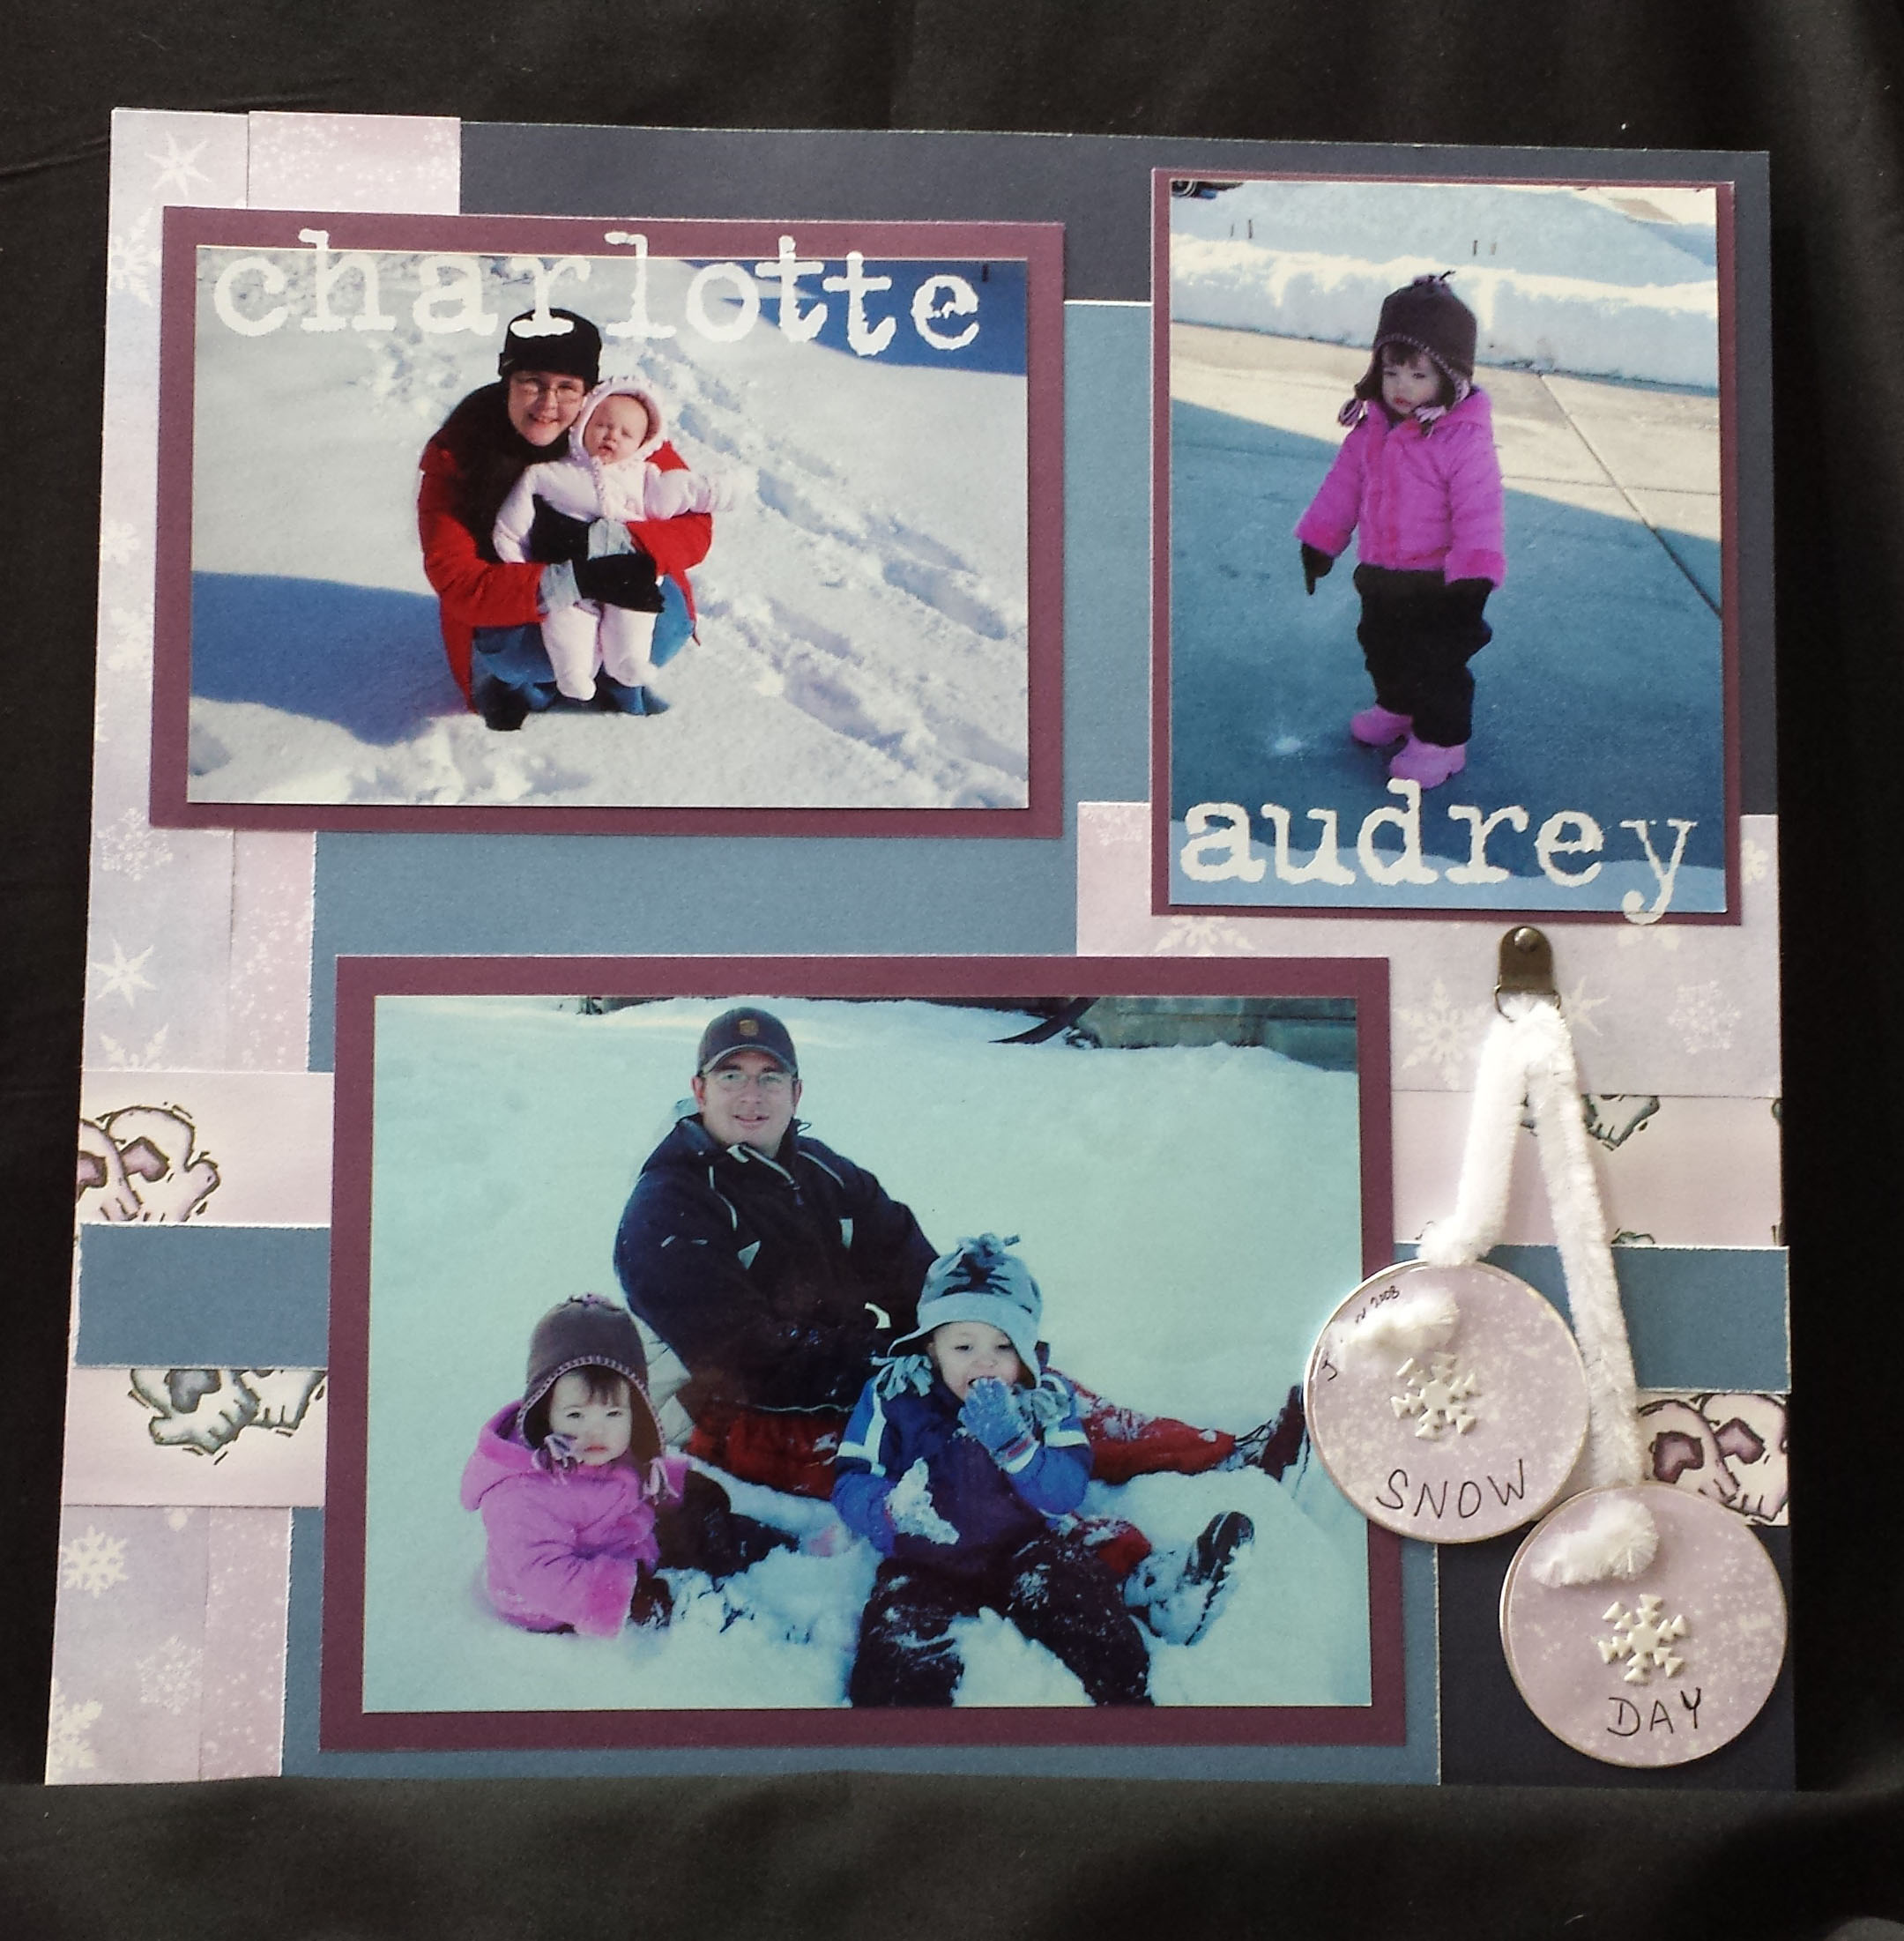
Here is the finished layout:Kids playing in snow

I hope you have enjoyed this sketch. In the future you will find projects in my newsletters and only occasionally on the blog so take a moment to sign up for my newsletter in the upper right corner!

Creatively, Carol